How to Get Bunion Relief at Home with a Bunion Stretcher
Share
At some point in your life, you’ve probably experienced some type of foot pain. If you haven’t yet, there’s a high likelihood that you will. Why? Your feet undergo constant stress on a daily basis as they bear the weight of your entire body. To complicate matters, your physical activity, your gait, the type of footwear you wear, and the fit of the footwear can contribute and aggravate some annoying and even painful foot ailments. Fortunately, all is not lost for those of you that already suffer from ailments, thanks to devices like the ball and ring bunion shoe stretcher that can provide bunion relief.
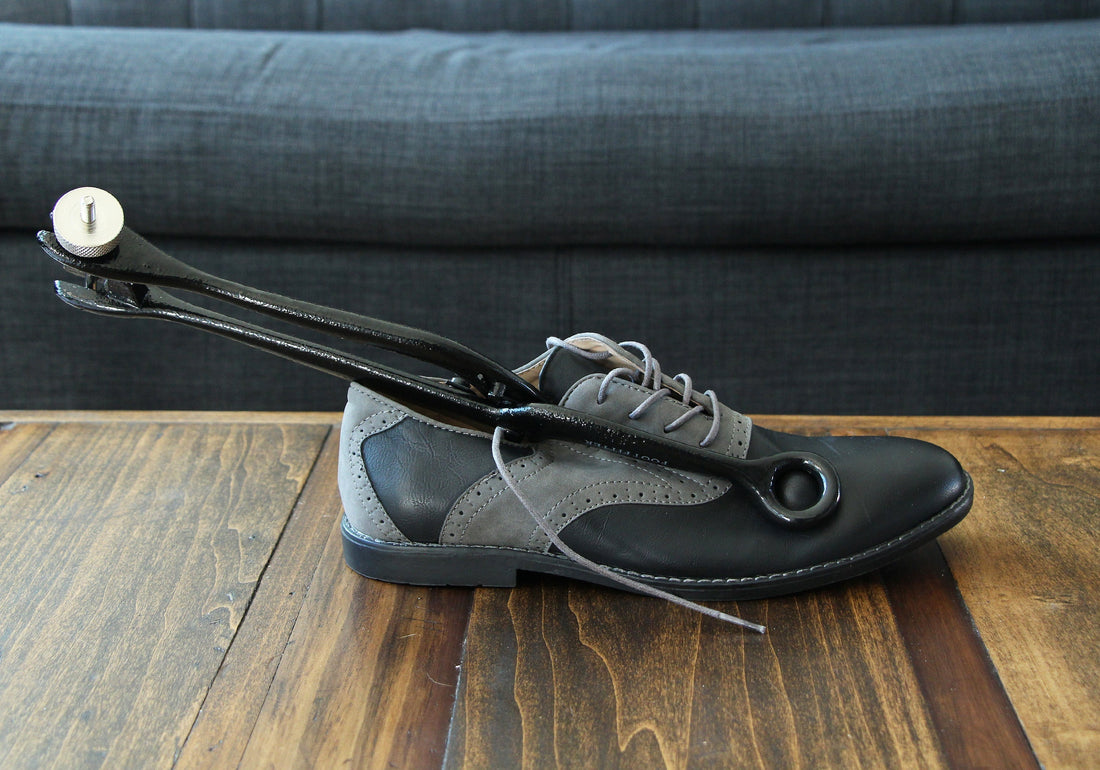
At first glance, the ball and ring stretcher resembles a pair of scissors, and the comparison is not far off in regard to its mechanics. Two cast iron rods act as levers from the center pivot. At one end, there is a ball and ring at each respective rod. The shoe material is sandwiched between these two ends and is stretched when the ball moves through part of the ring. At the other end of the stretcher, there is a rod with an adjustment wheel that swings into a divot in the opposite rod—locking the ball and ring in place. The result is a targeted and effective stretch to provide hammer toe, corn, and bunion relief or wherever other area ails you.
The ball and ring stretcher is often called a bunion stretcher, but it effectively provides relief for several other foot ailments as well. Here is a list of the most common foot ailments that this stretcher addresses with a little help from OrthoInfo:
Common Foot Ailments
Bunions
When the bone or tissue at base of your big toe is enlarged, you have yourself a bunion. This bony knob can be genetic although it is widely attribute to wearing shoes that are too tight. As the bunions begin to grow, the big toe may turn in toward the second toe and causing swelling and pain, so seeking bunion relief as soon as possible is recommended.
Corns
This is a type of callus that develops when constant pressure is put on the skin. Tight shoes often cause corns since the shoe material constantly presses on the skin. The limited space within the shoe also tends to press and rub the toes together to cause corns between each toe.
Hammer toe
This occurs when the toe curls up instead of lying flat. The limited space in tight shoes can directly cause hammer toes in addition to activities where the toes are forced into a bent position like climbing. The knuckle of the hammer toe may rub against the top of the toe box, which may cause pain, discomfort, and the development of corns. If hammer toes go unaddressed (e.g., wearing better fitting shoes, surgery), the muscles that attach to the toes may weaken.
Crossover toe
As you can guess, this is a condition characterized when your toes are so crimped in your shoe’s toe box that one toe overlaps an adjacent one.
Bone spurs
This can occur at the top of the middle area of your foot near your instep. Ill-fitting shoes can jam the bones together causing unwanted extra bone formation. This can progress to be quite painful if left unaddressed.
Ideally, you’ll want to grab yourself a new pair of shoes that fit well to completely avoid these foot ailments. But, if you must use those shoes, follow this simple guide to using a bunion stretcher:
Step-by-Step Guide to Use a Bunion Stretcher for Bunion Relief

Pictured: FootFitter Ball and Ring Cast Iron Bunion Stretcher
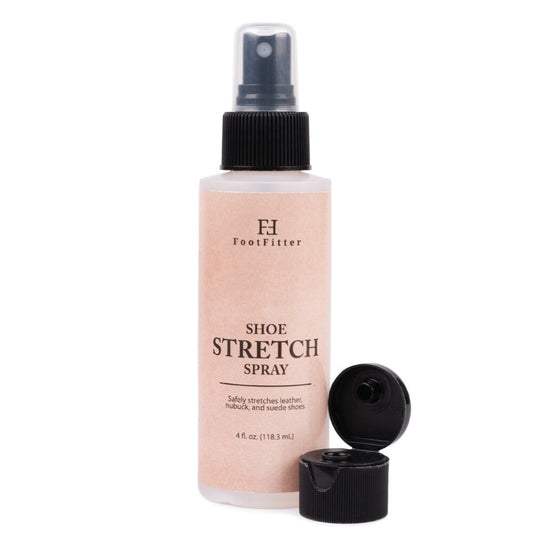
Step 1. Apply shoe stretch spray
Shoe stretch spray loosens the fibers of your shoe material to give it an elastic quality. This flexibility reduces the likelihood that you’d damage the shoe material. You’ll want to saturate the inside of the area you wish to stretch. This can be done by spraying it directly or by wiping it down with a saturated towel.

Step 2. Position the ball and ring bunion stretcher
Now the real action begins! Insert the ball end into the shoe while keeping the ring end on the outside of the shoe.

Step 3. Clamp the ball and ring together
Squeeze the handles to begin to bring the ball and ring together. For a smaller stretch (e.g., to address a corn), you’ll want to squeeze lightly. For a more drastic stretch for bunions or hammer toes, you’ll want to squeeze a little more.

Step 4. Swing the metal rod into the groove
While holding the handles in place, insert the rod into the divot found in the opposite rod.

Step 5. Lock the handles in place
Spin the locking wheel until it is able to hold the other handle into place. You can finely tune how much the final stretch will be by spinning the wheel in the appropriate direction.

Step 6. Let the stretcher do its work
Keep the bunion stretcher clamped on the shoe for at least 6 to 8 hours. To prevent the bunion stretcher from also tugging at the material, you can prop up the stretcher with another object or turn your shoe to its side.

Step 7. Remove the stretcher
Turn the metal locking wheel counterclockwise, unclamp the ball and ring, and pull the stretcher out of your shoe.

Step 8. Try on your shoe
Wear the shoe as you would normally wear it (e.g., with socks, stockings). If you’re still feeling irritation, you may want to perform another stretching session. If not, feel free to celebrate with your newfound bunion relief and comfortable shoes!
For a downloadable and printable version of this guide, please click the following link: FootFitter Ball & Ring Cast Iron Bunion Stretcher – Printable Version PDF
For the ball and ring bunion stretcher and other shoe and boot stretchers, head over to our website to browse our catalog of premium stretchers: Shoe and Boot Stretchers.
