How to Use a High Heel Stretcher
Share
“High heels are undoubtedly the most comfortable type of footwear that you can wear—day in and day out,” said no one ever in the history of mankind. Yes, your beloved high heels may not be the most feet-friendly footwear in your shoe closet, but sometimes you just have to bite the bullet and accept that “beauty is pain.” Or do you? Not with the a nifty tool like a high heel stretcher. This life-saving device is the solution to high heels that are too tight and uncomfortable in the toe area. Wondering how to use a high heel stretcher? In this article, we’ll show you how this simple tool can give you comfort while you strut in your favorite pair of high heels.
So what is a high heel stretcher, anyway?
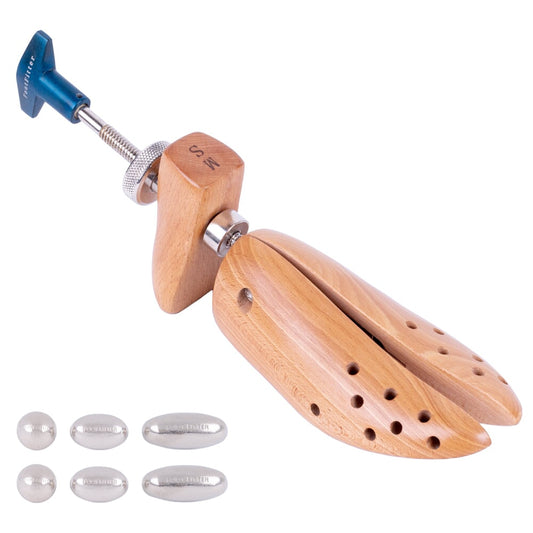
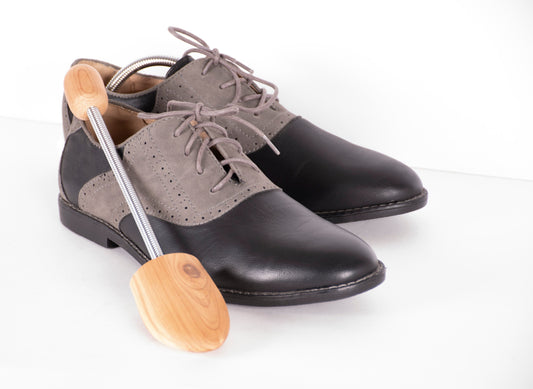
It’s a nifty device that is usually composed of an expanding toe block and a handle that can be turned to contract or expand the toe block. As you can probably deduce, the expanding of the toe block is what widens or stretches the toe areas of your high heels for more comfortable, blister-free wear. The cobbler at your local shoe repair shop most likely has a couple of these in varying models to accommodate flat-soled shoes, boots, and high heels. Fortunately, high heel stretchers are relatively more available nowadays and are certainly a worthwhile investment after even just one stretch. So before attempting to walk in those tight high heels again, let’s show you how to use one of these high heel expanders.
What You’ll Need
(1) High Heel Shoe Stretcher
- But hold your horses! You can’t just get any high heel stretcher. You want to get a model specific to the height of your heels. The effectiveness of the stretcher is largely dependent on how well the stretcher sits in your heels. An ill-fitting stretcher may also damage and deform your heels if the incorrect model is used.
- For high heels that are 1 to 3 inches high, grab the FootFitter 1″- 3″ High Heel Shoe Stretcher.
- For heels that are 3 to 6 inches high, you’ll want the FootFitter Premium 3″- 6″ High Heel Shoe Stretcher.
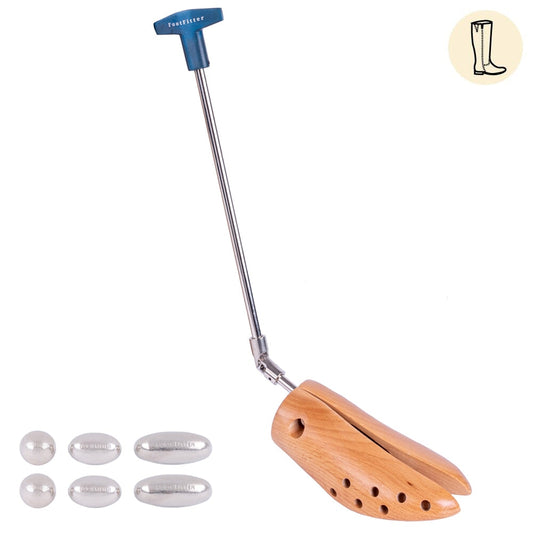
- For high heeled boots up to 3 inches in height, get the FootFitter Premium 1″ – 3″ High Heel Boot Stretcher.
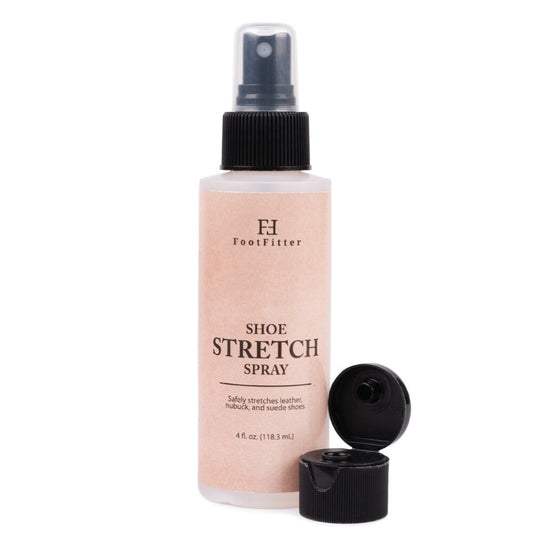
(1) Spray bottle of shoe stretch spray
(1) Towel (optional; for applying shoe stretch spray)
(1) Spot-stretching plugs (optional; if you want to target bunions, corns, hammertoes)
How to Use a High Heel Stretcher

Step 1. Apply shoe stretch spray
Spray the inside of your high heel’s toe box liberally. Alternatively, you can spray a towel and wipe the inside surface of the toe box. The goal here is for the inside material to be slightly damp with the shoe stretch liquid. It should NOT be so damp that it drips liquid when pressed.
Technically, you can skip this step, and others that have previously stretched their shoes may tell you that they did not apply any shoe stretch spray. We HIGHLY RECOMMEND that you do not skip this step. The shoe stretch spray loosens the fibers of leather, patent leather, and other materials and makes them pliable. This allows for safer stretch that is also more thorough and effective.

Step 2. Insert spot stretching plugs
If you’re only interested in widening the toe box of your high heels, please skip to step 3.
If you suffer from bunions, corns, or other trouble spots, place the spot stretching plug in the area that corresponds to the trouble spots in your heel. You can insert multiple plugs if needed.

Step 3. Insert the high heel stretcher
This is where the fun starts. Before inserting the high heel expander into your shoe, ensure that the high heel stretcher’s wooden toe block is closed (i.e., the wooden sides are contracted and touching each other). Also, make sure that the tip of the stretcher is as close to the toe of your high heel as possible.

Step 4. Expand the toe block
Turn the handle clockwise to expand the toe block while in the heel, and keep turning until it is snug. Holding the toe area of your heel aids in turning the handle with stability. Once it is snug, turn 2 to 3 more times to begin to stretch the material. When expanding and widening footwear, slow and steady wins the race, and we recommend stretching your shoes in smaller increments to avoid damaging your beloved heels.

Step 5. Leave the stretcher in your high heels
Once your desired width settings are set, leave the stretcher in your high heel for at least 6 to 8 hours. I know it may be tempting to check its progress, but try your hardest not to remove the stretcher during this time.
For those that need their heels widened in a hurry, we recommend getting a pair of high heel expanders and stretching your pair of heels simultaneously. High heel stretching kits can be found here: Shoe Stretching Kits.

Step 6. Remove the stretcher
Turn the widening handle counterclockwise until it fully retracts the toe block, and pull out the high heel stretcher.
Step 7. Give your new heels a test drive
Slip on your heels just as you would normally wear them (e.g., if you’re wearing stockings or socks, slip them on now), and go for a walk. How do they feel? If they feel great, congratulations! You’ve just successfully completed your first stretch!
If you would like a little more stretch, go back to Step 1 to begin the second round of stretching!
And there you have it! A quick and dirty guide on how to use a high heel stretcher. We hope that this guide and our high heel stretchers allow you to wear your high heels with greater comfort and confidence. Feel free to check out our high heel stretchers at our online storefront: Shop High Heel Stretchers.
*The high heel expander shown in the photos is the FootFitter 1″- 3″ High Heel Shoe Stretcher.

