How to Patina Leather Shoes
Share
One of the greatest things about leather is seeing how it develops a patina over time. No two pieces are the same nor will they live the same life, which means each item is unique.
For those who are unaware, patina is the surface of an object — leather, wood, metal or stone — becoming weathered and aged. For many people, this process can make an object look more beautiful and appealing.
When it comes to leather shoes, a pair with patina indicates that it’s seen hundreds of miles and received numerous layers of wax and polish.
Leather with patina is usually darker around the heel counter and toe box of the shoe. This is due to an accumulation of wax and polish in these areas which seldom experience any flexing. The contrast between light and dark leather gives an item a distinguished look.
On top of that, each stain or scratch on the leather is unique to that object. While those imperfections can be imitated, it can never be duplicated, which gives it more personal value.
It takes months and years to naturally develop a patina in leather. However, there are ways to create that lived-in look without having to wait.
Those that are more adventurous or have advanced skills can create a patina using leather dye. But for those that are just getting into the hobby, all you’ll need is some cream polish, a few microfiber cloths and patience.
How to Patina Leather Shoes
Creating a patina on leather shoes starts with the shoe itself. Any shade of brown leather shoe will work. However, black leather shoes develop a different type of patina — more worn down and lighter in hue — and the methods we’re about to show you won’t work on black leather.
After you have figured out which pair to use, it’s time to prepare those shoes for the layers of cream polish it is about to receive.
Use a clean horsehair brush or a clean microfiber cloth to remove any dirt or dust from the leather.
Should your shoes be really dirty or you want to start with a somewhat blank canvas, use your favorite leather cleaner to remove any tough stains or previously applied wax that would make it more difficult for the shoe cream to absorb into the leather.
When your shoes are clean, grab a jar of shoe cream polish. The shade you will use will depend on the color of the leather.
If the leather is on the lighter side of brown, use a darker shade of cream polish. We recommend choosing a shade two or three times darker than the leather to get a pronounced patina effect on the shoe. The only time you want to use black shoe cream is if you’re creating a patina on a pair of dark brown shoes.
Using a microfiber cloth, apply the cream polish to the shoe, focusing on the perimeter of the toe box and the heel counter. You’ll want to have at most 8 coats of polish in these areas of the footwear.
Like we previously mentioned, these are the areas where leather shoes will naturally darken and develop their patina over months and years of walking, polishing and waxing.
As you add layers of cream polish to the heel and the toe of the shoe, don’t forget to add polish to the rest of the shoe as well to keep the leather hydrated. Doing this will also blend the darker sections with the rest of the shoe.
After you’ve applied enough layers of cream polish, give it time to absorb into the leather and dry. When the cream has dried, begin buffing the shoe with a horsehair brush.
This process will take longer than a normal shoe polishing session due to the numerous layers of polish on the shoe. Remember to keep at it and to have patience.
When all the polish has been blended into the leather, you’re finished. At this point, you can choose to mirror polish the toe box and heel counter, or you can wear them immediately.
What’s great about creating a patina using shoe cream polish is that it isn’t a permanent. You can return your footwear to its original form by using leather cleaner to strip the cream polish off the shoe.
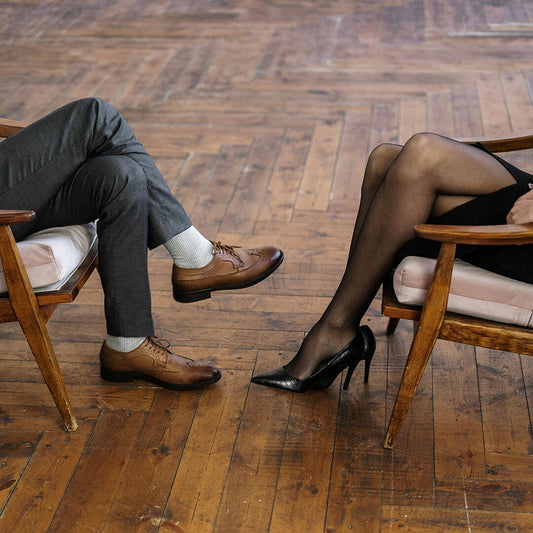
Main image by Lukas via pexels

